Best Seat in the House

This post is for all those wonderful people who travel around the world to teach sugar art to others through classes, demonstrations, and competitions. The follow-up post is for the wonderful volunteers that inadvertently help you teach.
Hi! Remember me? Probably not, but during your entire demonstration I may have sat about 5 feet away from you. I'm the one who attached the lapel mic to your chef coat, apologizing for having to mess with your clothes or maybe cracking a joke about needing to buy you dinner first. I'm the one who told you that you have 10 minutes left or maybe (hopefully) don't worry, you have plenty of time to finish up. I'm the one behind the video camera, worrying about that awful feedback noise from the PA system or how washed out the video projection looks on the screen. Behind me are anywhere from 40 to 250 people depending on me and my equipment to be able to watch and listen to you teach. Even with all that stress, I still have the best seat in the house.
I'm the local cake club's A/V coordinator. What does that mean? Well, that means I'm the volunteer for all "that techie stuff". That means I'm hauling all the cameras, projectors, microphones, tripods, etc. to and from cake events. That means I'm hooking everything up, taping wires down, testing all the inputs and outputs of various electronics. Am I an A/V expert? Not by any means, but I seem to know more about "that techie stuff" than your average cake lady. In my years of volunteering for my local cake club, I've had the pleasure of being A/V coordinator (or assistant) for 3 Day of Sharings and 2 Sugar Art Shows. I've been learning throughout my experiences and am ready to share some tips, do's and don'ts, and suggestions to both the professional sugar art demonstrators and any "cake-techies" out there. If someone wrote a manual on this stuff, for the love of God please link it to me. Otherwise, let's blaze a trail ...
SUGGESTIONS FOR DEMONSTRATORS
First I'd like to say thank you to all the sugar art demonstrators that I've had the honor of learning from. You are a special breed: funny, smart, talented, and passionate. It is a joy to watch you work and be a part of your audience. I, however, have a unique perspective of you, because of what needs to be done so you can successfully teach a large group of people. What follows are not criticisms, but suggestions. There are dozens of things that need to fall into place for an excellent show, but there can be a lot more things that are unseen or unavoidable. We all hope for the best, but let's prepare for the worst. In the end, don't forget to relax and have fun. We wanted you here with us, and we're a fun bunch of people. I've never heard anyone heckle at a cake show.
Double check what time you are presenting.
Many of you are hauling products because you are a vendor or are teaching classes in addition to all your equipment for demonstrating, and things get crazy. As soon as you get yourself and all your gear settled down, ask the show coordinator when your time slot is. We had cases where demonstrators who were listed to go first were still stuck in traffic or even running behind in their classes. The show coordinators might compensate by having another presenter go first. Or heck, we might have released the schedule with errors, or maybe you only had an old copy. As soon as you can, ask and make sure. Show coordinators must also try to proactively remind you of your time slot, but like I said, things get crazy. No one wants you taken by surprise and rush to set up. And by all means we can help you get things in order. Forgot or can't find your tool? Let us fetch one so you don't have to come up with any plan Bs.
Be mindful of the colors of your sugar work.
This requires some technical explanation (with my limited understanding of "techie things"). The video camera is processing brightness and color information with its own brain. When presented with areas of high contrast or a large areas of a deep color, it has a hard time understanding. The kicker is that we're projecting the video feed to a screen in a well-lit area and the image looks washed out because of all the light. In the end, it's hard to get crisp, clear video in a large room, especially when the light you need to work is also directly competing against making the projection look good. This particularly becomes a problem when you are demonstrating with fondant or gumpaste. If you're cutting, molding, texturing, etc. your sugar paste, all the wonderful detail can be easily lost depending on the colors you chose.
- Don't use stark white. It will exaggerate how the camera perceives contrast for the highlights and dark areas.
- Don't use black. There won't be enough contrast from the natural shadows in your fondant for the camera to pick up.
- Don't use red. Cameras tend to over-saturate red, which blows out all the details.
So what are you to do? I find that neutral colors show detail better. Pastels, soft beiges, off-white, etc.
Be mindful of the colors you are wearing.
All the tips above apply to you as well. Also, don't demo sugar paste that is the same color as your shirt! Whenever you hold up your work, your shirt becomes the background. For example, if you try to show the audience the black piece of fondant you are working on and you are wearing a nice black blouse, we're not going to see a thing! Here's an excellent excerpt from http://www.videomaker.com/article/12990/ "Just What Should I Wear?"
High-contrast clothing is another major problem. Video cameras cannot handle high contrasts between bright and dark objects, and this includes skin tone and clothing. Dark-skinned people should avoid wearing white or very light colors. If they do, their shirts will glow when you set the camera to expose the face properly. Extremely light-skinned talent should avoid black or very dark clothing. A black shirt will become a formless hole in the video, because it will have to be very dark if you set the camera so that the skin tone is properly exposed.
While video does not handle high contrast very well, it has even more trouble handling some colors. Reds and oranges have a tendency to glow on camera. Yes, there are some television talent who insist on wearing red or orange on camera, but unless it is a deep, dark red, it probably glows in the television lights. Cameras have a hard time recreating the red and especially red/orange colors, and thus you should avoid them if possible. Additionally, many consumer camcorders tend to over-saturate the red channel to warm up skin tones, which can magnify the existing problem.
Place items you want me to zoom in on onto the table.
It's easy to forget that you are on camera. You're in the zone, explaining all your valuable tips and tricks to us, and you hold up your work for us to see. You forgot that the closest person to you (besides me) is maybe 20 feet away. They're not looking at you, but at the large projection screen behind you. You ask, "Can you see this?" and you starting moving it toward the direction of the camera. Chances are that I've already zoomed in on your work, but now you've moved it and I have no frame of reference of where to adjust the camera. Best thing to do is put your work down in front of you on the table, and I'll have an easier time tracking and zooming. Try to consistently put your items back in the same spot in front of you, and I can anticipate when to close in. When you put your work down, the item is still and the camera has time to auto-focus and adjust coloring. This is usually not a big problem because you are wonderful decorators and teachers, which means your hands are always steady. If anything, you just need to slow down your muscle-memory movements so the audience can follow what you are doing.
Don't stop talking!
Some of the work in your demonstrations gets repetitive (e.g. cutting, molding, dusting, wiring 5 petals the same way for a flower). What kills the energy in the room is whenever you stop talking while you're repeating the same actions. Talk about anything, talk about nothing, talk about the weather, your cats, your flight in ... tell us your anecdotes, tell us jokes, tell us anything, just don't stop! Don't forget that we paid to hear you talk, so you're not bothering or boring us. If you run out of instructions for what you are currently working on, come up for air and ask if we have any questions. Don't be afraid to repeat the instructions either, someone might not have heard or understood it the first time.
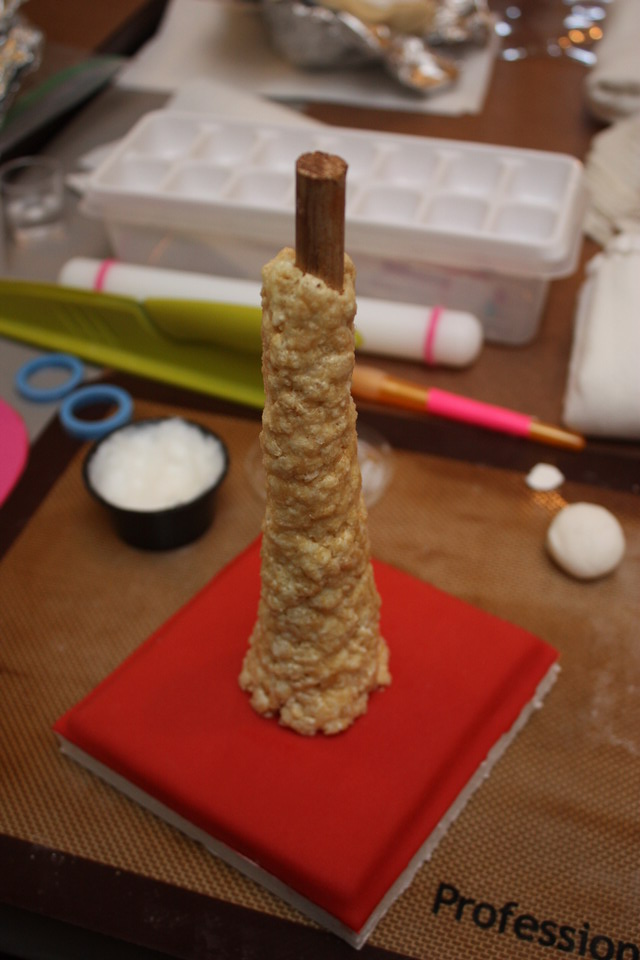
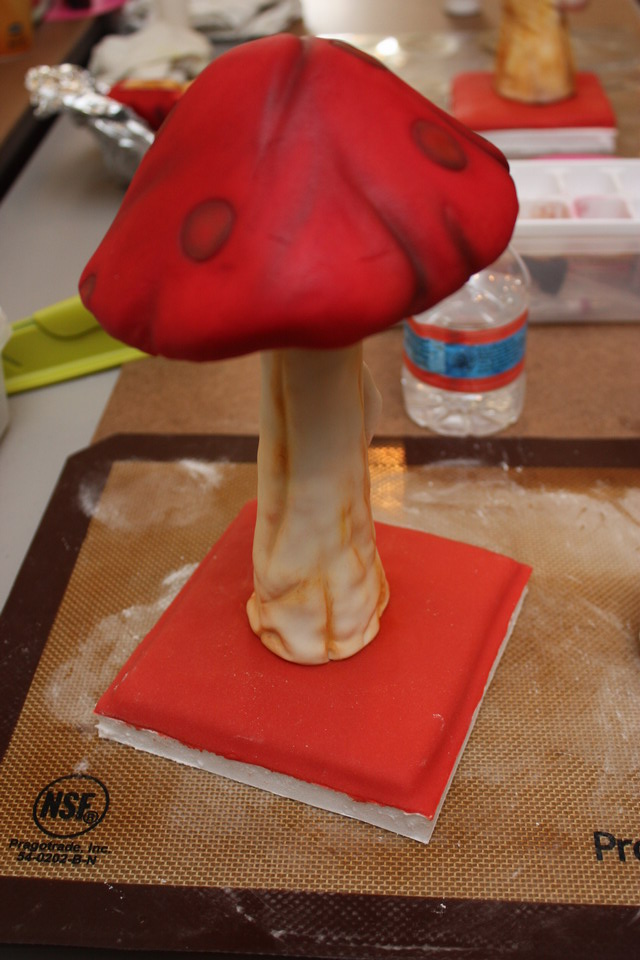
Have the finished items pre-made so you can refer to it.
Try as we may, sometimes we just don't follow you. That's when it's good to have a before and after example of what you are demonstrating. Keep your finished product nearby so I can move the camera to it when you're explaining where a piece goes, what order things should be assembled, etc. Keep several example pieces to show techniques executed in different ways. You know what I'd really like? If you're demoing a sequence of many steps to produce a single item (e.g. a complicated flower), show me the finished product first. Point out the different parts in the order that you are going to make it. After a few stages, do it again for the remaining steps. Pretty soon you'll see a wave of head bobbing as we "get" it.
That's all I can think of from my mental list that's now 3 years old. I hope this helps someone out there, either in front or behind the camera! Even perching on my stiff folding stool for +5 hours, constantly controlling the camera, I still have the best seat in the house. But don't be offended if you catch me drinking several cups of coffee or stifling a yawn ;)